lördag 1 december 2018
fredag 30 augusti 2013
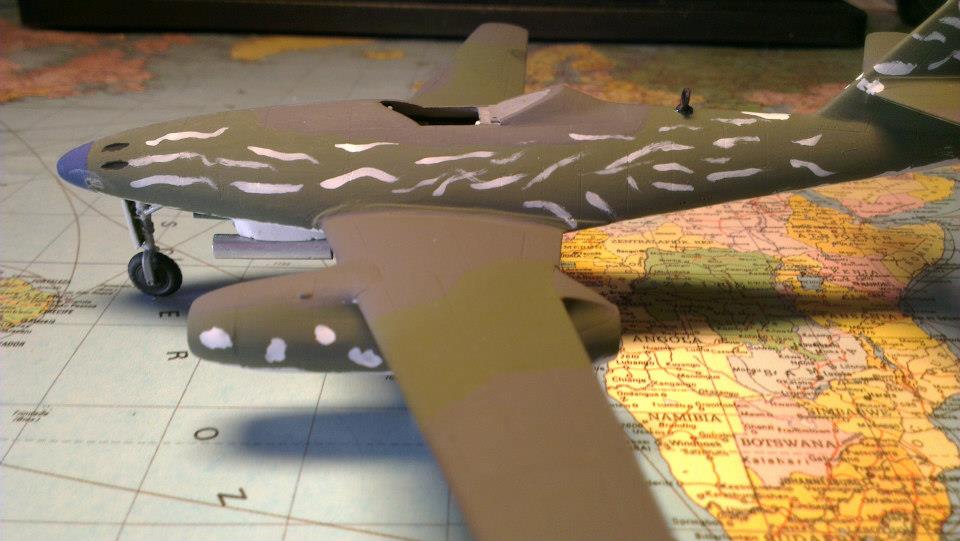
Messerschmitt Me 262 A-1a 1:72


This was a great model to build. I didn't have any trouble with this one. I did a little research on the camo and history of the aircraft. For information about the plane and camo click here.


söndag 26 maj 2013
Horton-9 (Ho-IX) / Gotha-229 (Go-229)


 For more information about the plane click here.
torsdag 6 december 2012
Tupolev Tu-144 SST


I won this model on an online auction. I read a little about the Tu-144, history and blue prints. The kit was from ACADEMY.
The model was small and very few details. So to make it look good, I had to put down time on the paint job. With a model like this as small, a mistake is hard to hide because there isn't anything else to distract ones attention. I used Testor paint on this model because I had the colors. The primer went on just fine, but the white coat was "thin" so the primer was showing through. Might have been that the paint was old or testor paint is like that. I had to put 5-6 coats.

I painted the inside of the engine intake black it didn't call for it in the instructions but I wanted to give it a more real feel to it. I also painted half of the tail, from the engine exhaust to the end tip silver chrome. It didn't call for it as well in the instructions, but I had done some research and on the real Tu-144 it was silver chrome. It was put there to protect from the hot exhaust.

Here you can see the black painted intakes. I finished the plane off with matt varnish spray, to make the decals melt in. Make them look like a real paint job.

Read more about the Tu-144 Wikipedia on Tu-144
torsdag 8 november 2012
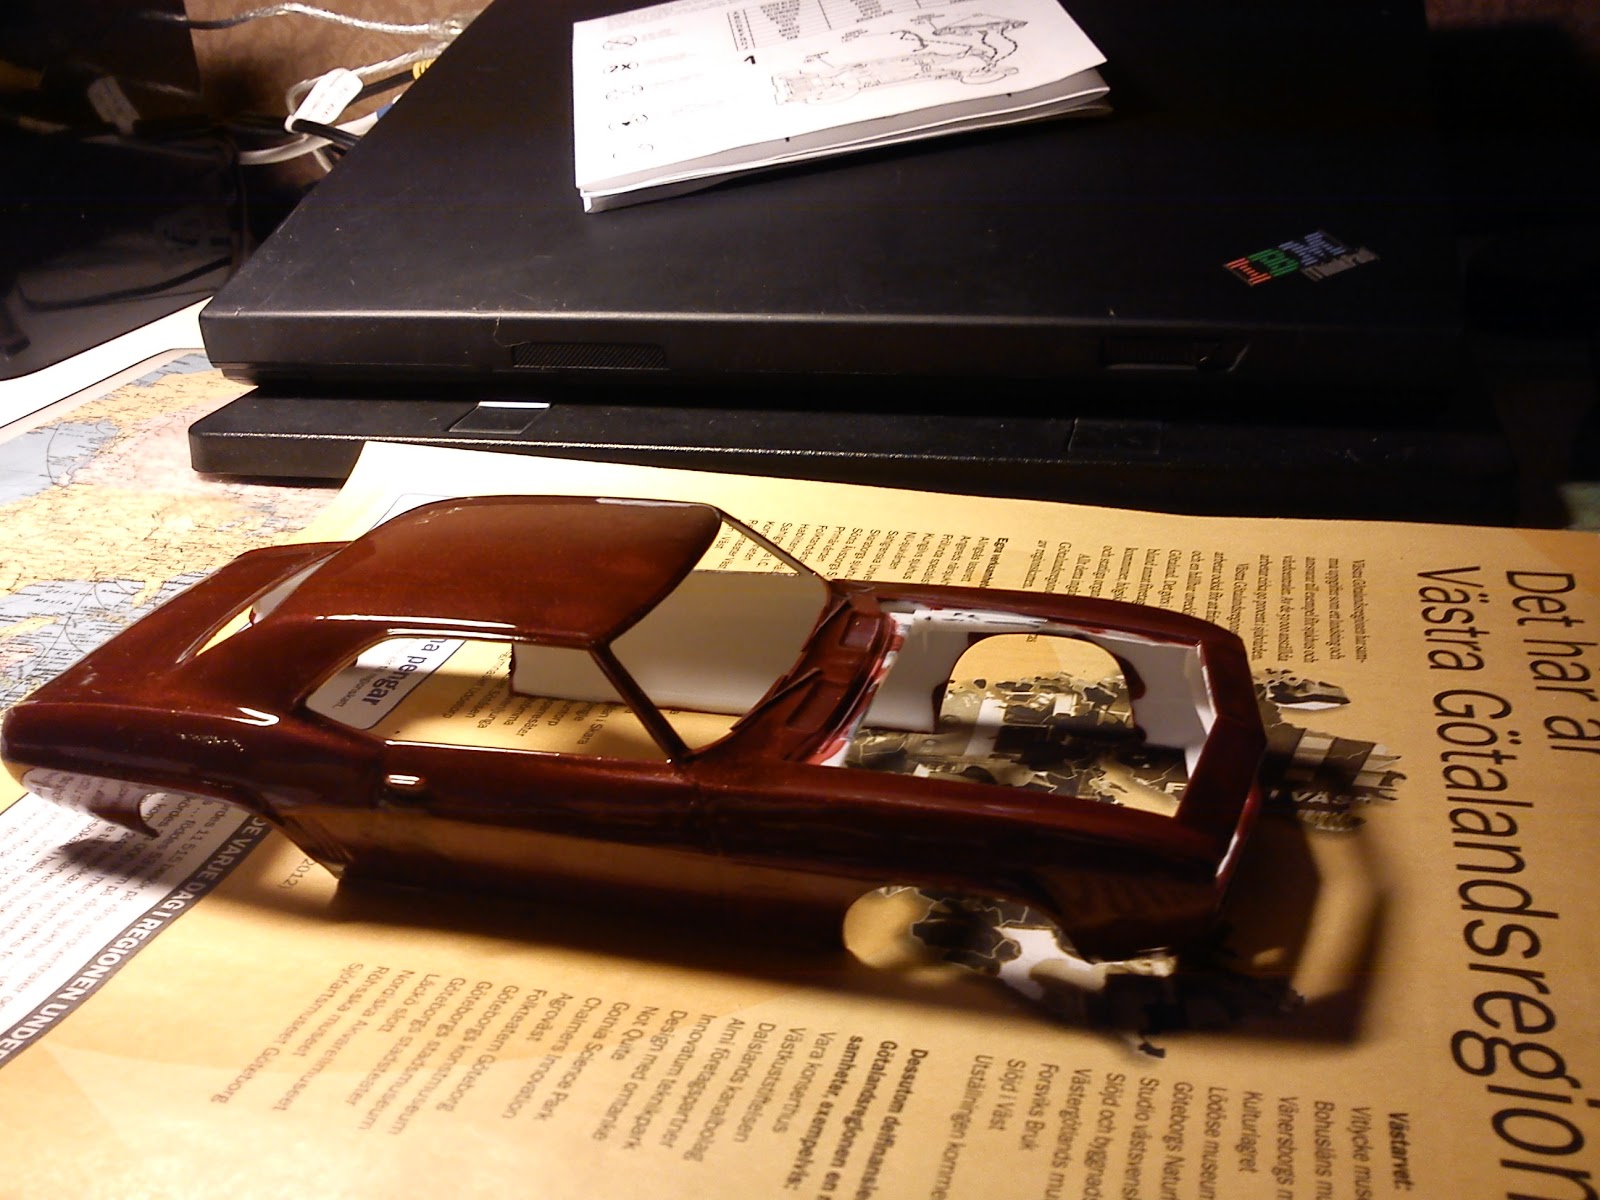
Camaro '69 1:72


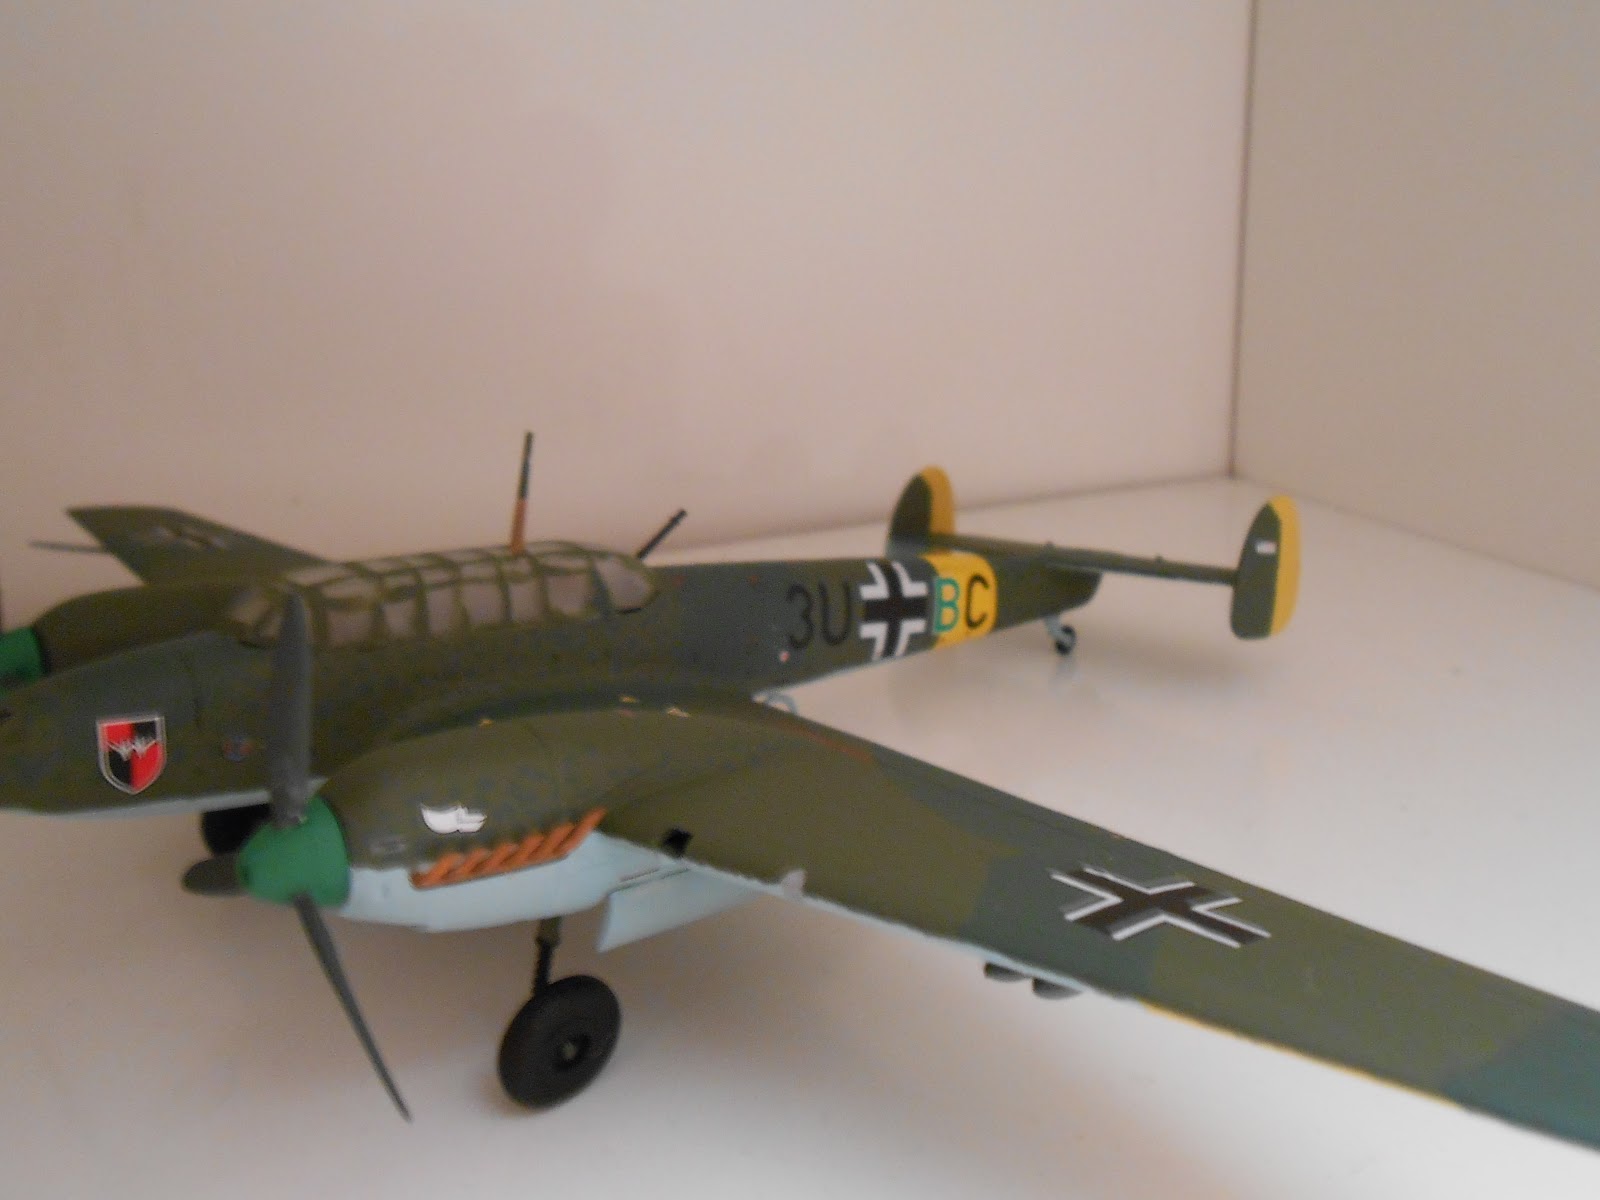
Messerschmitt Me Bf 110 E-1 1/72


Think through how it's put together and how you're going to be able to paint certain details.

Here, I've painted on the camo
I use Humbrol Enamel Paint.
A = 30
B = 86
C = 65
D = 91
E = 24
F = 62
G = 101
H = 60
I = 56
J = 118
L = 79
M = 85
N = 61
O = 140
P = 33
Clear matt varnish = 49
Prenumerera på:
Inlägg (Atom)